How to test solar panel condition and performance
When you receive the solar panel from any seller, how can you tell if its performance just as advertised?
Also, if you feel the panel is likely not working one day, how to confirm it?
Here we share some guidance on how to test solar panels, so that you can do it all by yourself after.
The main points:
1.How to confirm if the panel is working or not
2.How to test the solar panel’s performance
How to confirm if the panel is working or not
When the battery no longer gain charging current from solar panels after a time, or the load stopped running in sunny day, you’ll need to figure out if the issue happened with the solar panel, or other parts in the solar power system.
To do this test, you’ll need a multimeter.
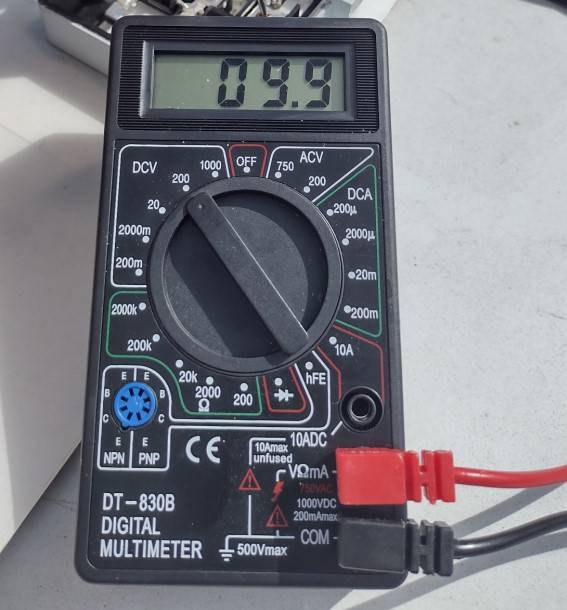
Set your multimeter to the DC voltage setting, you could choose a suitable range for it.
Then take 4 steps to verify panel's condition.
Step 1. Disconnect the solar panel from charge controller/hybrid inverter
Since the test is for the individual solar panel, it should directly be done with the panel itself, and avoid any disturbance from other parts in the power system. Disconnect the solar panel from charge controller or other part, so that you can get accurate testing results.
(Of course, if you’re doing this test when you just receive the solar panel, you don’t need to disconnect anything.)
Step 2. Record the labeled Voc value
There should be one label on the solar panel’s back, this should contain specifications, and it indicates the solar panel’s open circuit voltage.
For this test, we take the Eco-Worthy 130W flexible solar panel as example

So its Voc states 23.3V, if the solar panel is working normally, this Voc difference between labeled and tested should be close.
Step 3. Connect the multimeter with solar panel
Take your solar panel outside and place it in direct sunlight. For best results, angle it toward the sun.
Locate the positive and negative solar panel cables. The positive cable is typically the one with the male MC4 connector, which has a red band around it.
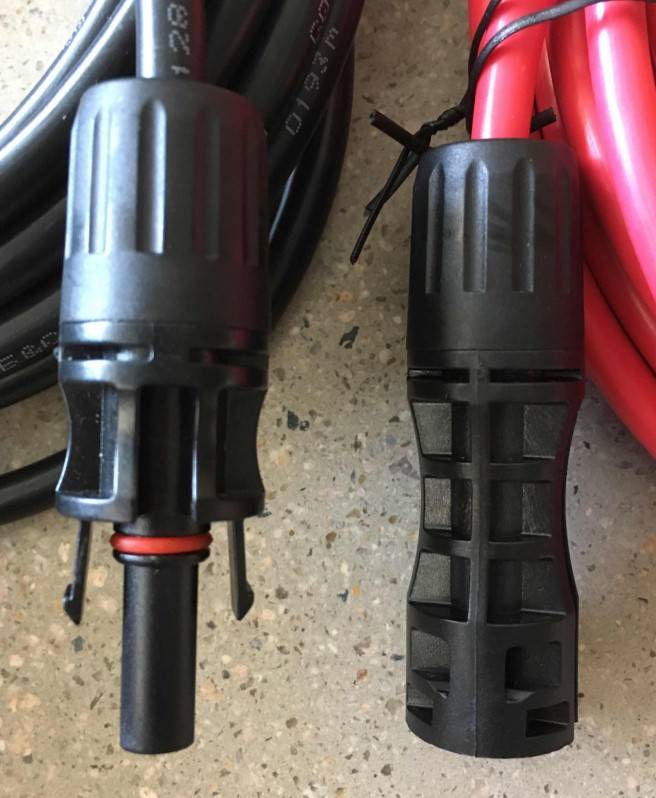
Put the red cable from the multimeter into the positive MC4 connector, and the black one to the negative MC4 connector.
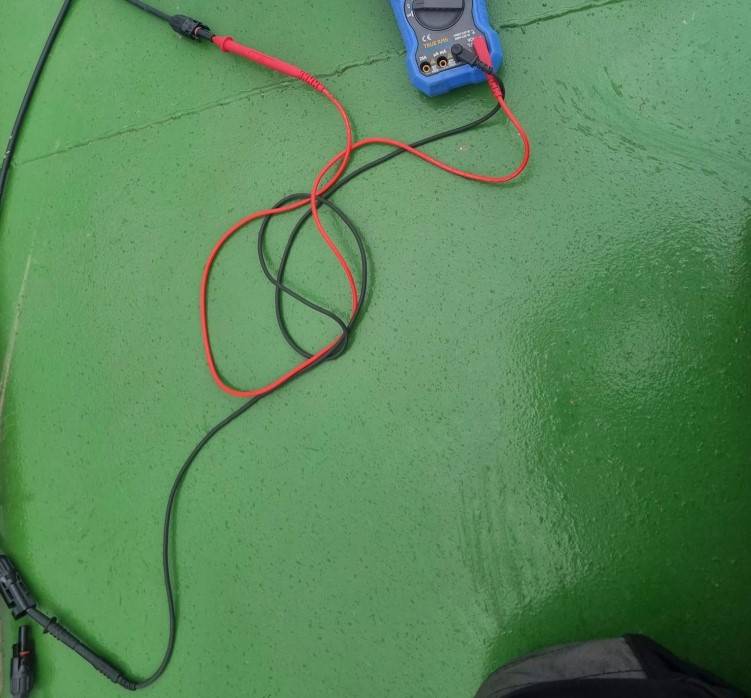
Step 4. Compare the reading to advertised value
Look at the display read on your multimeter and compare it to the open circuit voltage (Voc) listed on the panel’s label.
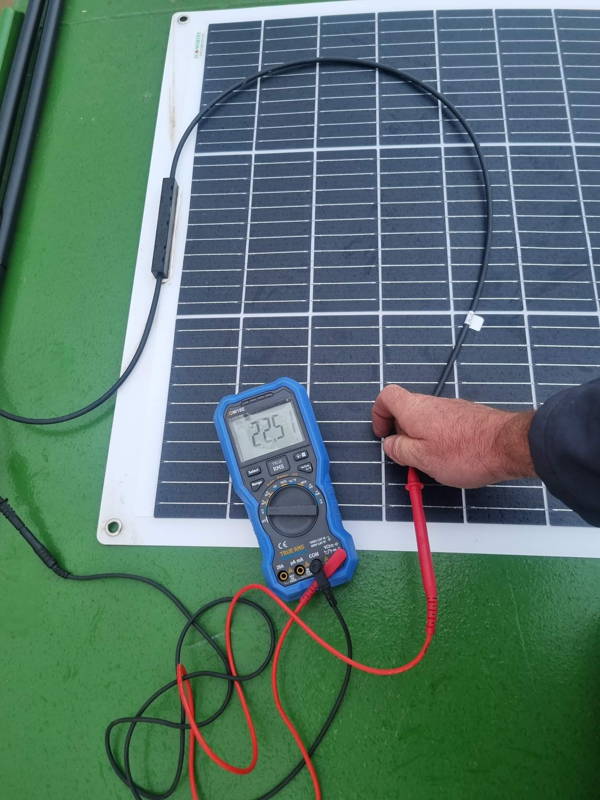
As shown on the display, it reads 22.5V Voc, compared to the 23.3V labeled rating, we can say it’s close, the difference less than 1V.
If they’re similar, so far your panel seems to be in good condition, which means the panel should work fine.
If the voltage you measure is significantly less than the Voc, there are some points you can have a retry:
1.Make sure it’s a sunny day, the panel is directly toward the sunlight.
2.Make sure no part of the solar panel is shaded
3.Clean the solar panel
If the voltage reads as 0V after you’ve checked every part, then the panel may be faulty. Or the connection maybe disconnected inside its junction box, or the MC4 connector. Anyway, when 0V data appears, just contact the seller for solution.
How to test the solar panel’s performance
To test the how many energy the solar panel produces for the battery, here is something you need:
-Solar panel(In this test, we use the Eco-Worthy 12V 100W mono solar panel)
-Solar charge controller (Displays PV voltage and PV current)
(In this test, we use our new 40A 12V/24V MPPT charge controller)
-Battery(12V battery to match 12V solar panel)
When you prepared those things necessary for the solar panel kit setup, just take 3 steps to see how much energy the battery receives from the solar panel in real-time.
Step 1: Connect the battery to the charge controller
Before the solar panel connection, wire the charge controller with battery first, so you can see the battery status on controller’s display, and check if the data is accurate by comparing with your multimeter test.
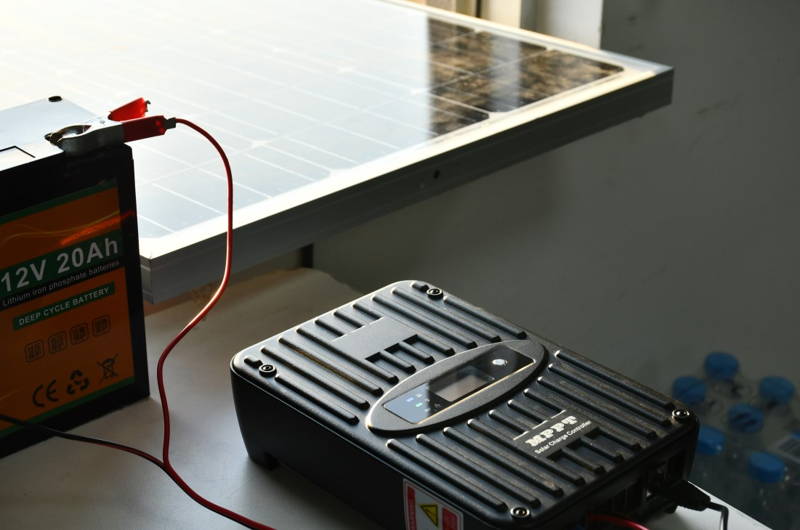
Step 2: Connect the Solar Panel to the Charge Controller
Put the solar panel’s outlet into controller’s PV ports, so then the PV data shows on the display.
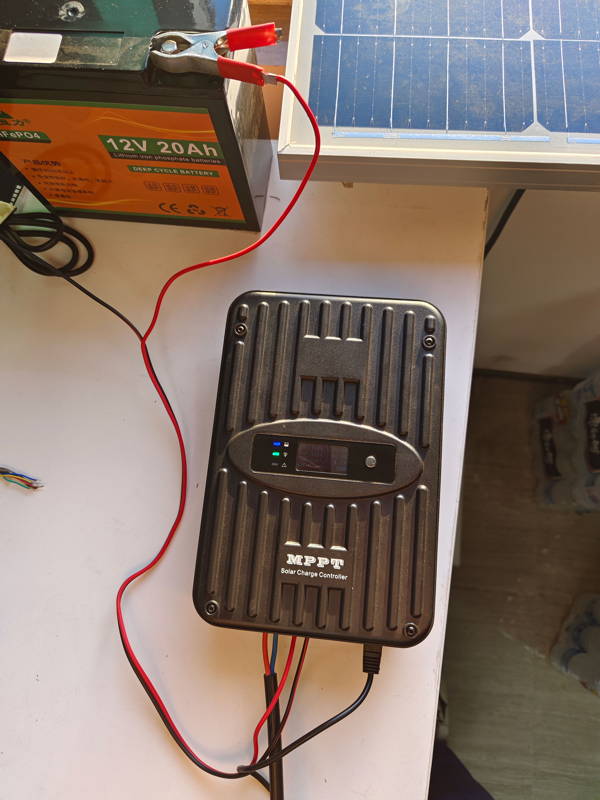
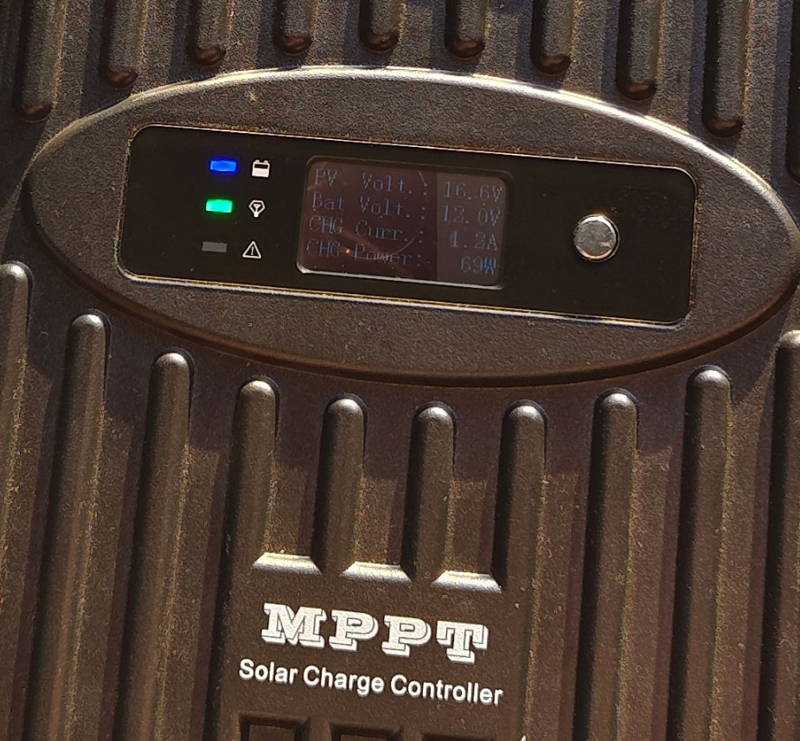
Step 3:Compare the display data with the labeled
We did this test at 3 PM, as the picture shows, the charging current is 4.2A(Max. Working Current 5.78A), and power is 69W, considered the actual environment at that moment , we can say that the panel is working fine.
So, to test a solar panel’s condition, just prepare the multimeter, charge controller, and a battery, then take some simple steps as the guide, then you can have the answer.
